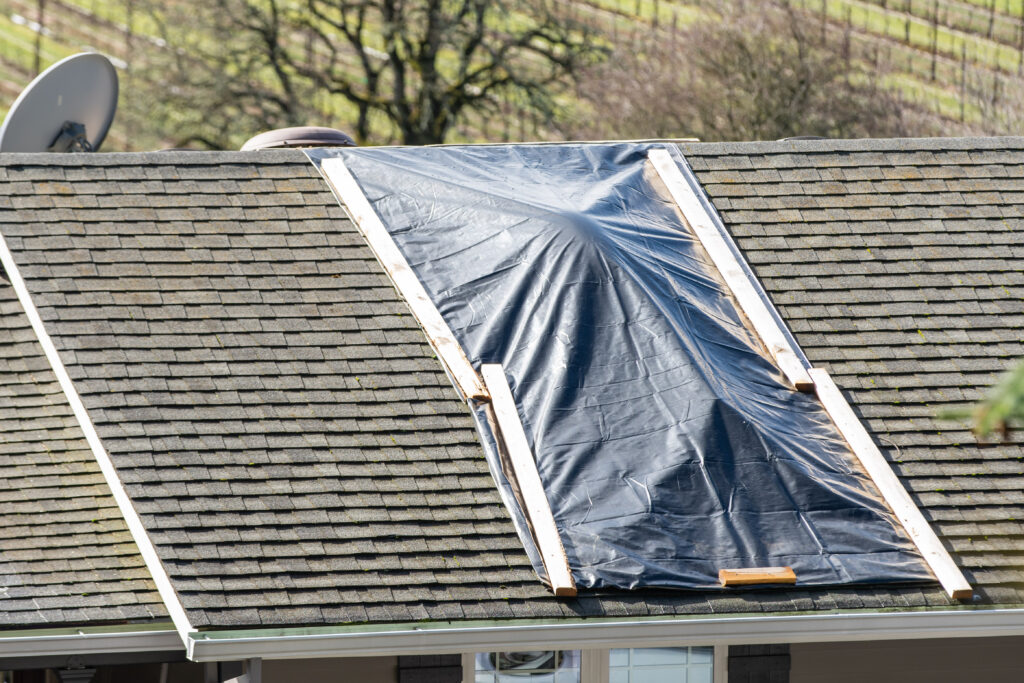
Nothing disrupts your routine faster than sudden roof damage. One morning you’re drinking coffee in peace watching gentle rain outside your window; and minutes later you’re scrambling to figure out how to tarp a roof before water starts streaming into your living room due to previously unknown roof damage (maybe from when you were aggressively pruning that tree last weekend). Think of this guide as your defiant stand against chaos. We’ll walk you through the entire process—from picking the right roof tarp to nailing down a foolproof plan for roof repairs—so you can outsmart the weather and save your home from further damage.
Set aside everything you thought you knew about temporary roof tarp solutions. We’re here to show you how to push beyond “good enough” and embrace a better, bolder way to protect your home.
By the time you reach step 7, you’ll not only know how to properly tarp a damaged area but also why a heavy duty tarp can be the difference between a minor inconvenience and a leaking roof nightmare.
1. Assess Roof Damage & If Safe to Tarp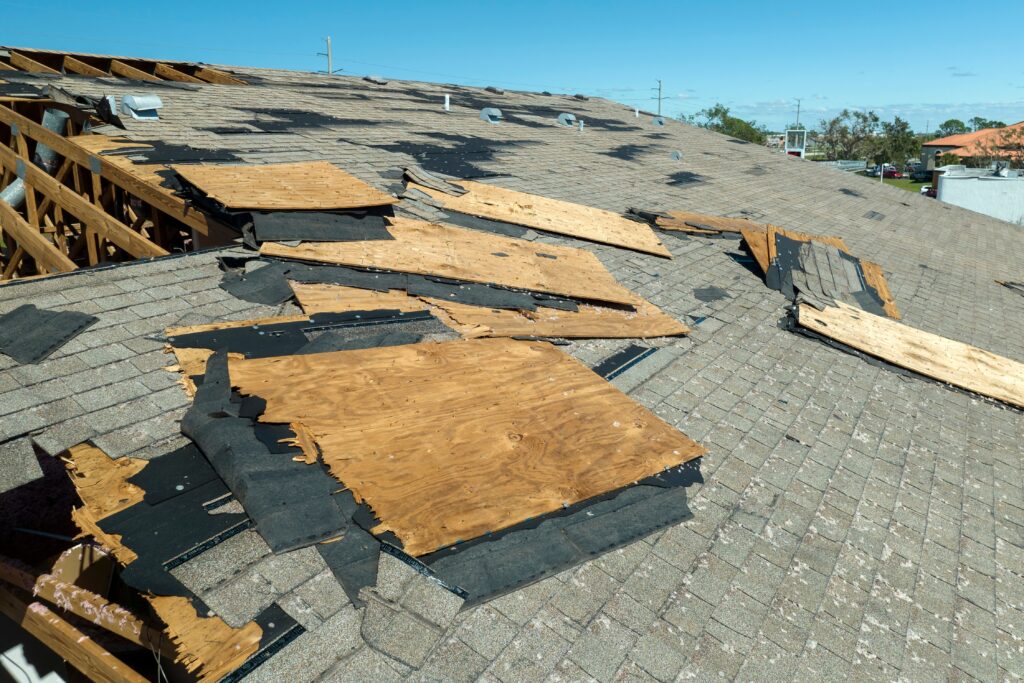
Before you even think about climbing a ladder, give your roof a quick once-over. If you see signs of structural damage—like deep cracks or warped roof decking—call a professional roofing contractor. No tarp is worth risking your safety.
- Look for damaged roof tiles or missing asphalt shingles.
- Watch out for anything that could indicate hidden problems under the roof sheathing.
- Use proper safety equipment. If it’s questionable, get an expert opinion.
If everything seems secure, identify the damaged area and figure out the best approach to safely access the roof. That sets you up perfectly for the next step.
2. Check Weather for Ideal Time to Tarp
Mother Nature has zero patience for your timeline. High winds and extreme weather events can turn an easy tarp job into a death-defying stunt. Keep your eye on local news or reliable sources like the National Weather Service (but don’t check the weather while climbing a ladder)
- Aim for mild days without severe weather forecasts.
- Postpone the job if storms are brewing.
- If you can’t wait, make sure you have all the appropriate equipment on standby.
The last thing you need is a tarp hang that’s interrupted by hail. Once you know you’ll be safe from the elements, move on to getting your gear.
3. Identify the Necessary Materials

Here’s where advanced prep pays off. Gather your gear so you can tarp a roof without stopping mid-job for extra supplies. You’ll want:
- A heavy duty tarp that can withstand harsh weather.
- Roofing nails for secure fastening.
- Wooden boards if you expect strong winds or need extra anchoring.
- A tape measure to confirm dimensions.
Evaluate whether you need any specialized roofing materials for the damaged roof. Having everything in one place keeps you from frantically searching for boards underneath a pile of old tools.
Next up: how to measure your roof properly so you pick the right tarp size.
4. Measure the Area/Space
Accurate measurements can be the difference between a smooth fix and a massive headache. Tarp a roof with too little coverage, and you’re looking at roof leaks all over again. An oversized tarp can bunch up or trap water, leading to further damage.
- Carefully measure the width and length of the roof damage.
- Add a couple of feet beyond the damaged area on each side for good measure.
- If the entire roof is questionable, measure large sections or consult a roofing professional for guidance.
Once you’ve locked in your numbers, you’re ready to shop with confidence.
5. Purchase the Correct Size Tarp
One size does not fit all. A small tarp might fail to properly tarp crucial sections, while an unnecessarily huge tarp can be a hassle to maneuver. This is your time to shine by selecting a tarp that truly fits.
- Double-check your measurements.
- Make sure you’re considering the intensity of storm damage.
- Grab a tarp that is suited for temporary protection and emergency repairs.
Securing the perfect fit sets the stage for a safer, more efficient setup.
Why Renegade Tarps are Superior to Anything Else on the Market
We refuse to settle for “standard.” Our tarps dominate in performance, durability, and sustainability—built to handle roof repairs like a champ. Then we took it up a notch and made them PFAS-free, BPA-free, and fully recyclable.
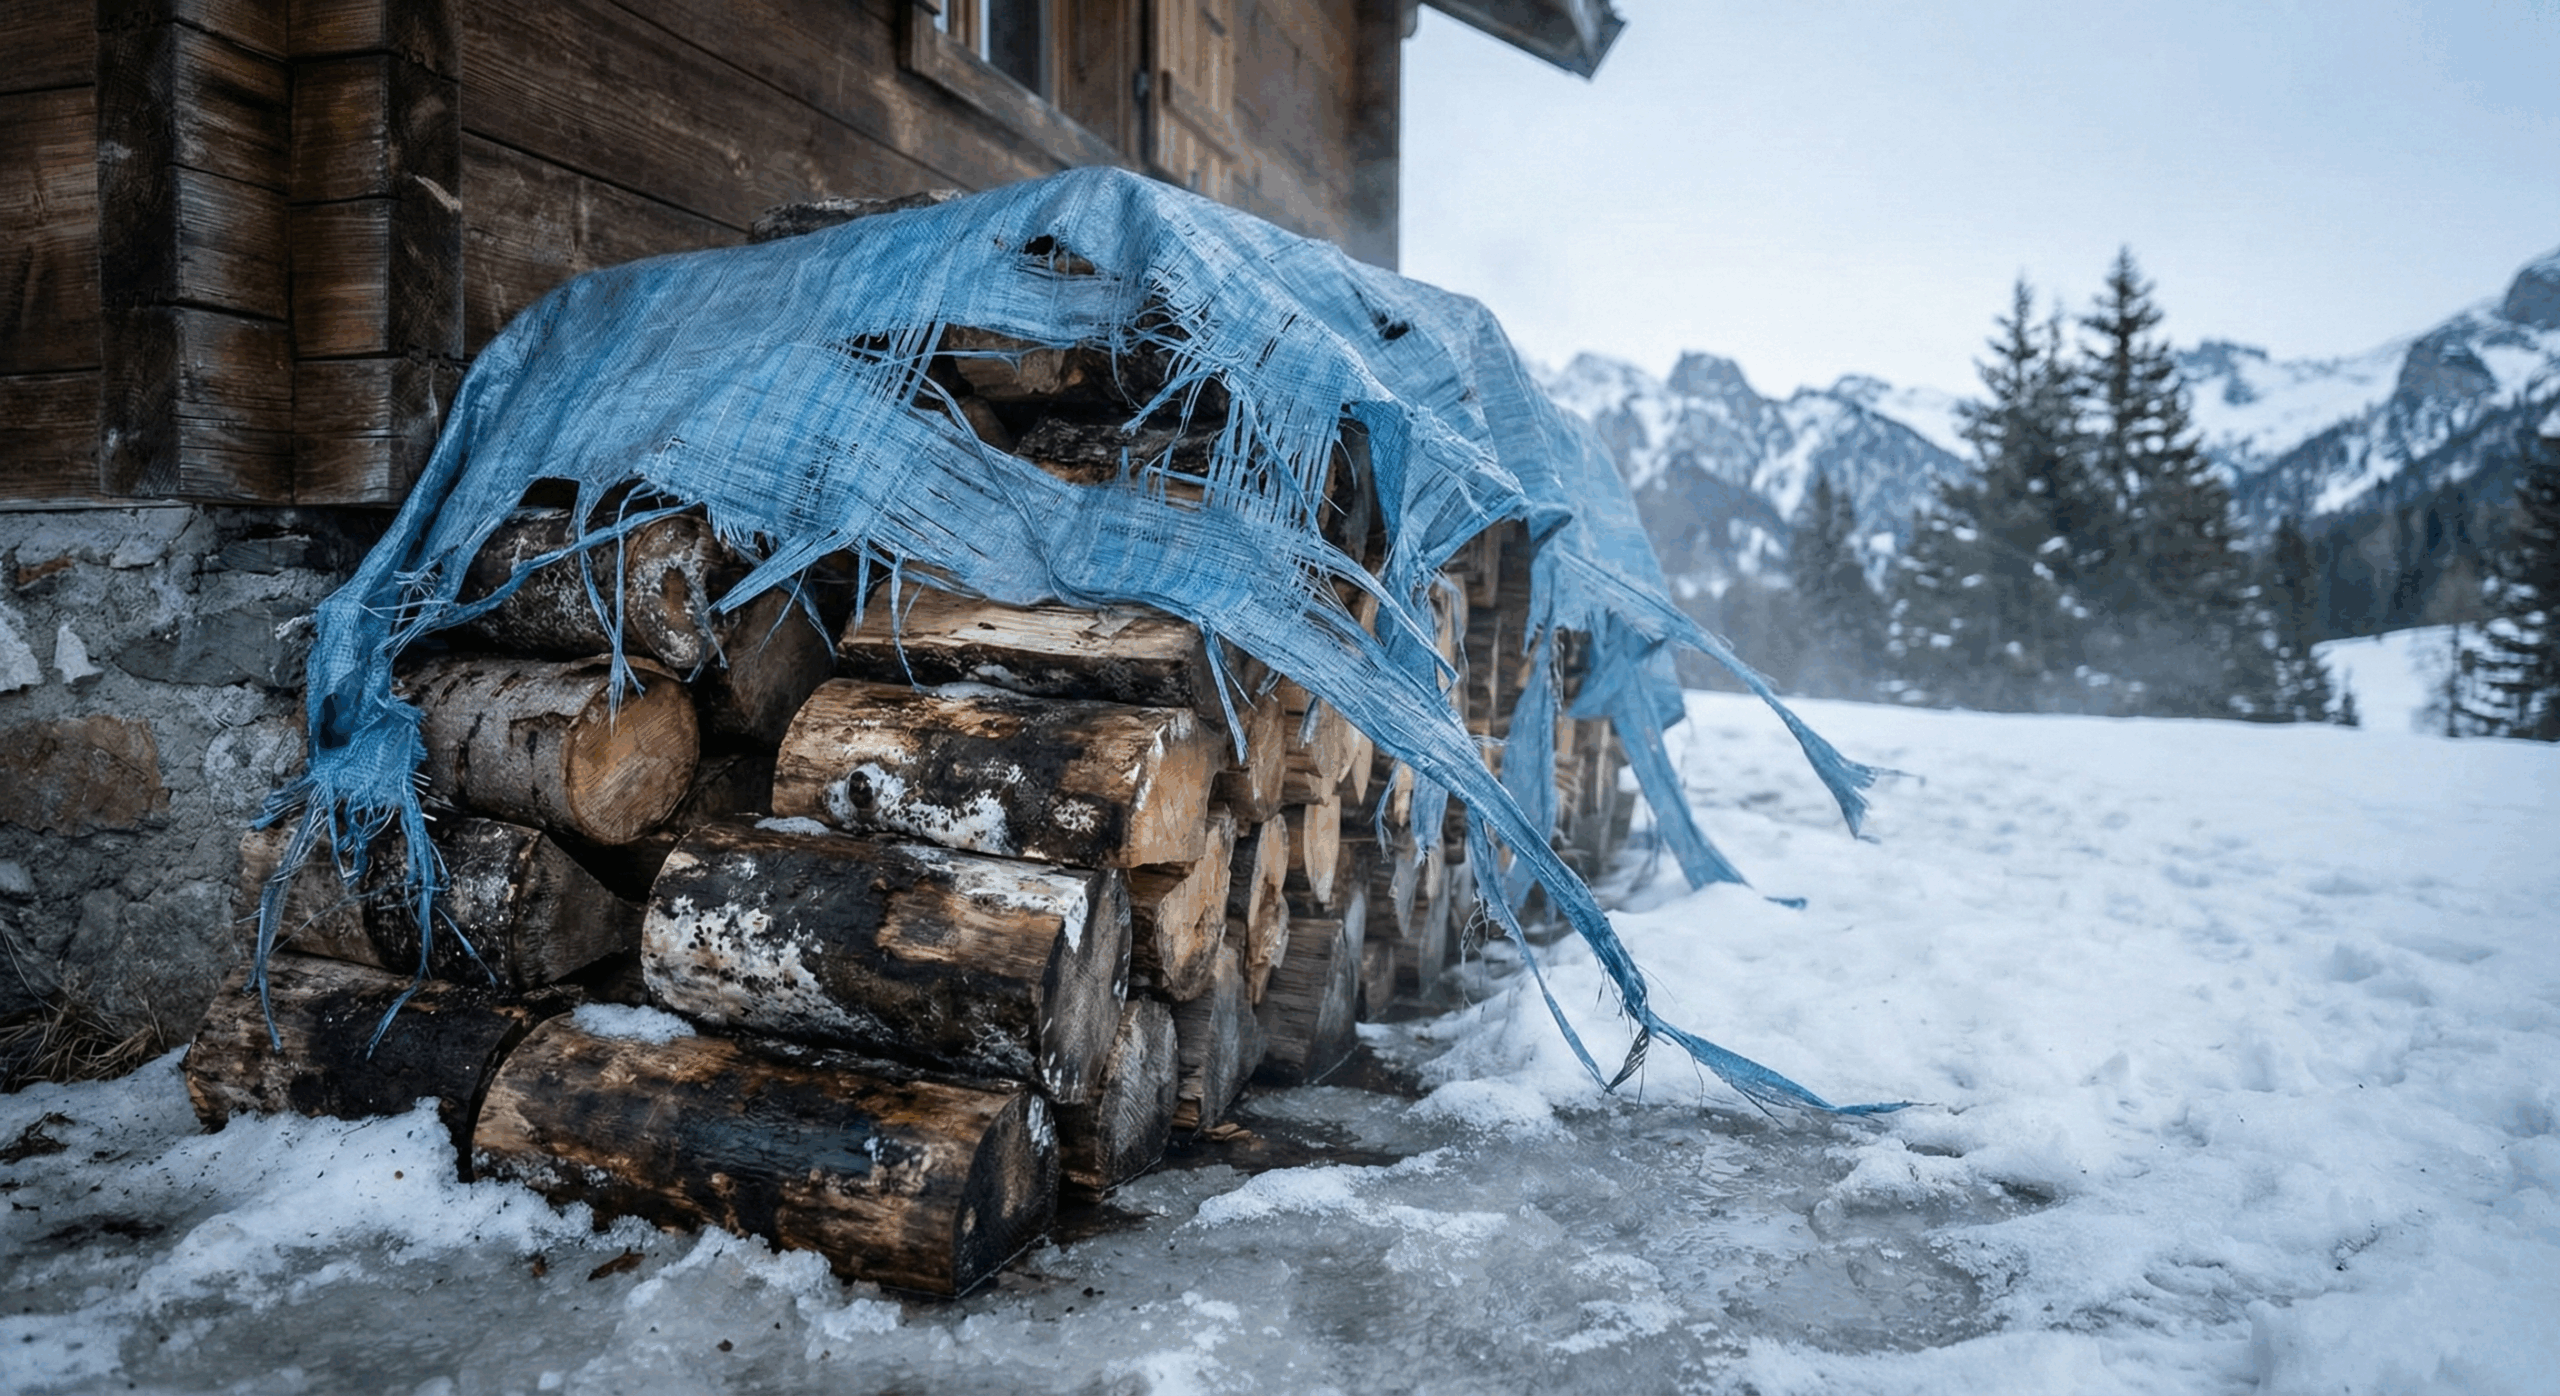
| Feature | Those Blue Tarps | Renegade Tarps |
|---|---|---|
| Lifespan | Short-term, prone to tearing | Engineered to outlast and outshine |
| Environmental Footprint | High potential for microplastic pollution and cannot be recycled. | Free from harmful chemicals & fully recyclable |
| Resistance to Storm Damage | Susceptible to rips under heavy rain | Rigorously tested to handle wild weather without surrender |
| Ease of Use | Awkward, heavy, crinkly, or flimsy | Lightweight design that won’t compromise on strength |
| Impact on Roof Repairs | Often only a temporary fix | Reinforced weave for confident coverage until permanent repairs |
6. Have Team Position the Tarp in Place
Even if you’re the ultimate DIY warrior, trying to tarp a roof on your own can be downright brutal. Recruit a friend or two for an extra set of hands.
- One person aligns the top edge of the tarp over the damaged roof area.
- Another feeds the tarp from below, making sure it doesn’t snag on loose roofing materials.
- Communicate clearly to ensure the tarp is taut and covers any leaking roof spots.
Once you’re all in sync, you can lock it down so the next gust of wind doesn’t send it flying.
7. Varied Options to Secure the Tarp
Securing a roof tarp boils down to balancing convenience with stability. Different anchoring methods exist, and each comes with perks and pitfalls. Pick the one that suits your environment and your level of risk tolerance.
| How Securing? | Pros | Cons | Best for Weather Type? |
|---|---|---|---|
| Wood & Nails | Easy to align, cost-effective | Creates more holes in the roof | Mild to moderate conditions |
| Staples | Speedy setup | Can tear the tarp in high winds | Dry, calm climates |
| Sandbags | Avoids puncturing the roof, reusable | May shift if winds are extreme | Low-wind, stable weather |
| Bricks | Simple to find or borrow, decent hold | Heavy and may damage delicate surfaces, potential to accidentally injure or kill your neighbor’s off-leash dog | Very mild conditions, very short-term solution |
5 FAQs About Tarping Your Roof
- Do I need a massive crew? Not necessarily, but two or three people can lighten the load. If you spot structural damage, consult a roofing professional or a building inspector.
- How long can I leave a temporary roof tarp in place? It’s meant for a temporary fix. You’ll want permanent repairs sorted out within weeks or months to avoid bigger issues.
- Can a tarp really prevent roof leaks? Yes, if you position and secure it correctly. A tight seal keeps water out and stops further damage.
- What if my roof is dangerously steep? Don’t risk your neck. Call a roofing contractor who has the right safety equipment to handle tough angles.
- Is the tarp enough to cover storm damage long-term? No. It’s only a bridge until you can do more thorough roof repairs. Think of it as a protective bandage, not a permanent solution.
Rethink Your Roof: A Bold New Path to Home Defense
When it comes to learning how to tarp a roof, you’ve just armed yourself with every strategic move you need. Assess your roof damage, monitor the weather, and select a roof tarp that won’t let you down. Then measure everything precisely, purchase the right size, and rally a crew to help secure your home.
The real question: Will you embrace an option that’s just okay, or will you join the wave of homeowners who demand better? At Renegade Plastics, we believe in pushing boundaries—environmentally, technologically, and in plain common sense.
Don’t settle for less and check out Renegade’s tarp options!
You can also look at resources like Wikipedia’s Roofing Materials Entry or official guidance from FEMA on post-disaster building safety, and you’ll see the future of roofing is evolving. Now’s the time to ask yourself which side of history you want your roof on.
Disclaimer:
The information provided in this article is based on Renegade Plastics’ experience and general best practices for roof tarping. It is intended for informational purposes only and should not be considered professional advice. Every roofing situation is unique, and we strongly recommend consulting with a licensed local roofing contractor to assess your specific needs and to perform any necessary work safely and effectively.

Interested in Our Fabrics?
Contact Us